returnEasier adds the withdrawal button as official Shopify theme blocks, so you turn it on from the theme editor in a few minutes and without touching a single line of code. You have two ways to show it —the App Embed (an automatic bar on every page) and the «Withdrawal link» (a discreet link or button you place yourself)— and you can use one, the other or both. Here's the complete guide.
Before you start
You need to have installed returnEasier from the Shopify App Store and completed onboarding (language, country and basic policy). If you haven't done that yet, install the app first: the wizard walks you through it and, on the last step, brings you right to this screen.
Both blocks live in a single Theme App Extension and share the same legal label. They inject no JavaScript into your storefront and don't rewrite your Liquid, so they break nothing in your theme. They're included on every plan, Free and Compliance too: the legal button is mandatory and is never gated by plan.
Option A — The App Embed (a bar on every page)
The App Embed is the recommended and fastest route: you switch it on with a toggle and returnEasier places the button on every page of the store automatically.
- In your Shopify admin, go to Online Store › Themes.
- On your live theme, click Customize to open the editor.
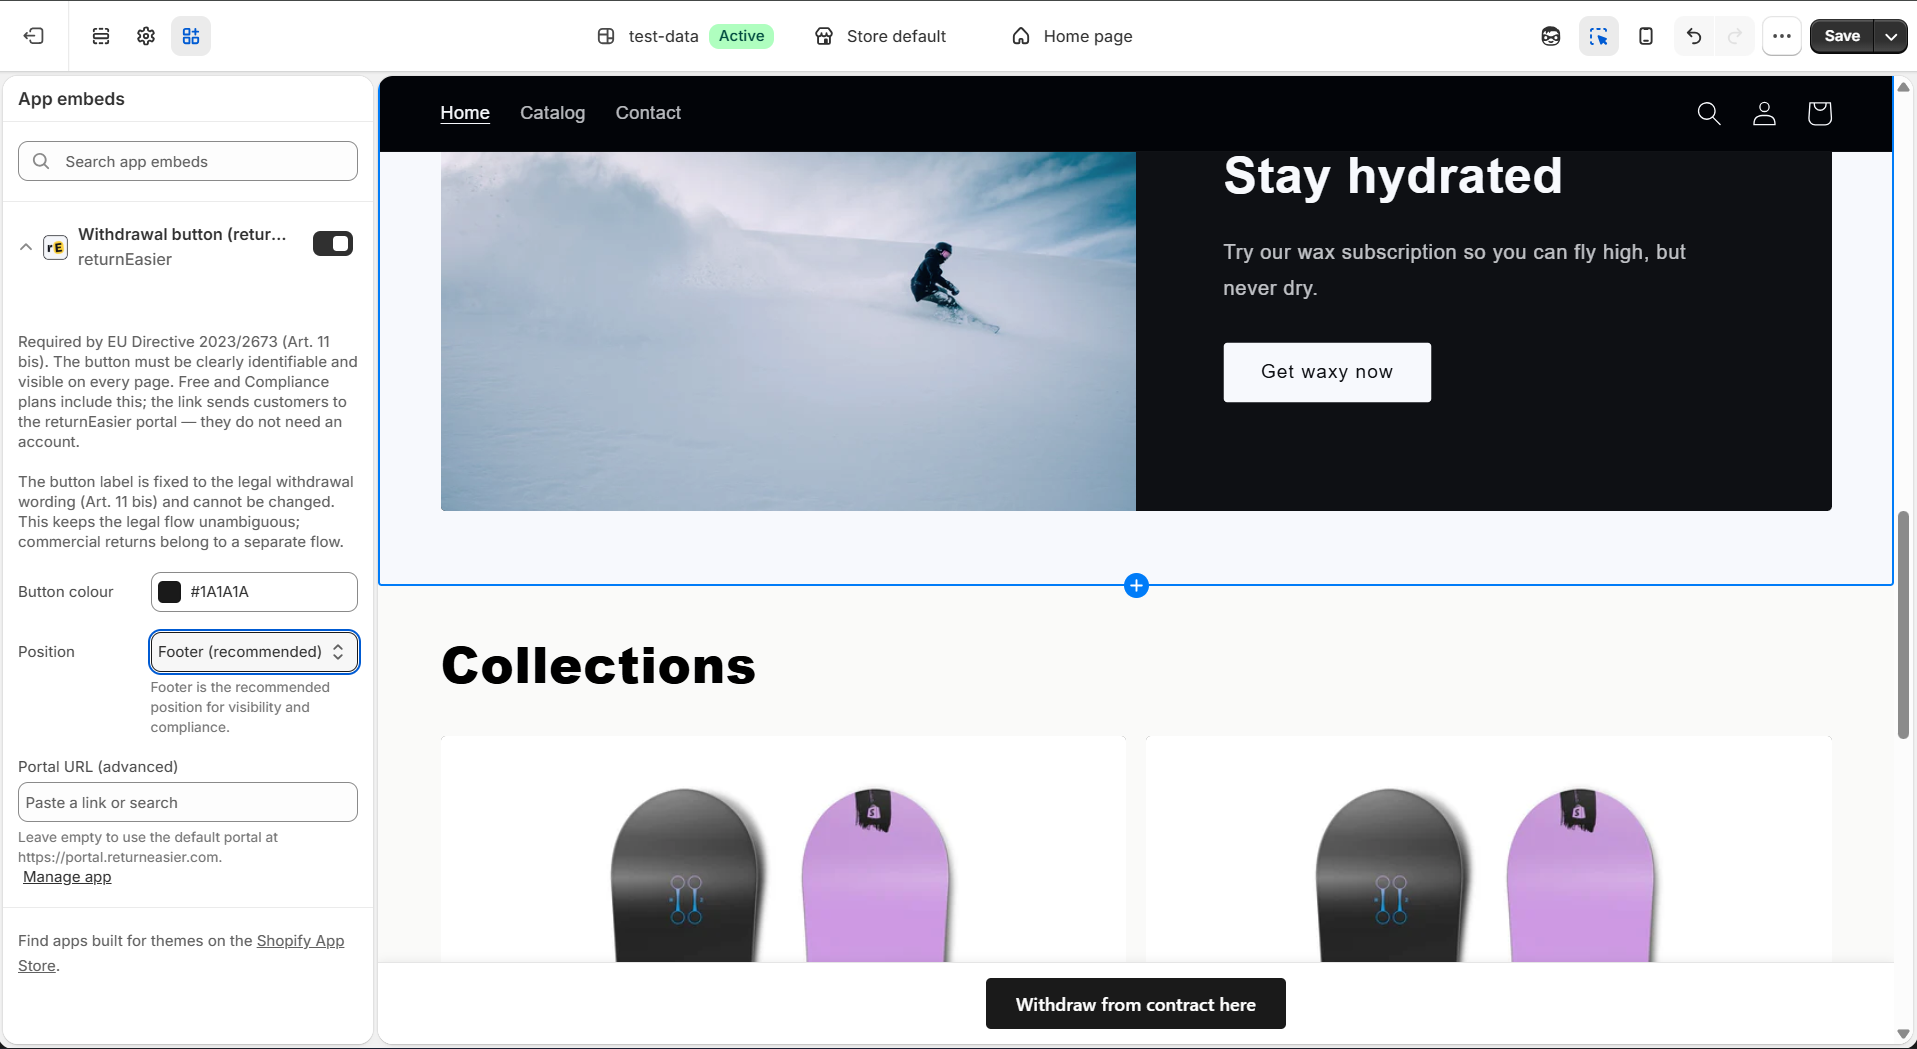
- Open the App embeds tab in the left sidebar.
- Switch on the «Withdrawal button (returnEasier)» toggle.
- Configure its three settings (we explain them below).
- Click Save.
Its settings are:
- Button colour. If you don't set it here, the colour you chose in the returnEasier setup wizard is used (and, if you didn't set it there either, a very dark grey,
#1a1a1a). Set it here to override it. - Position. Footer (recommended), Header or Floating button. The footer is the recommended position for visibility and compliance.
- Portal URL (advanced). Leave it empty unless you know what you're doing: by default it uses the returnEasier portal and you don't need to touch it.
The App Embed is turned on per theme. If you publish a new theme, switch it on again there. As long as the button is active on the published theme, your store is compliant.
Option B — The «Withdrawal link» (discreet, wherever you put it)
If you'd rather the access not be a bar but a link built into your store's design, use the «Withdrawal link» App Block. It's a block that you insert by hand inside a section that accepts app blocks. Important: place it in an area your theme shows on every page —usually the footer or the header—, because the law requires that access to withdrawal be visible across the whole store. If you add it to a section that only appears on one page (for example, a product page), you wouldn't cover the rest of the site: in that case, combine it with the App Embed, which is already on every page. Within a global area, the link complies just as well even if it's discreet: the law asks it to be easily accessible, not eye-catching.
- In the theme editor, navigate to the section where you want the link (for example, a footer column).
- Click Add block and, in the Apps group, choose «Withdrawal link (returnEasier)».
- Drag it to the exact position within the section.
- Configure its settings (below) and click Save.
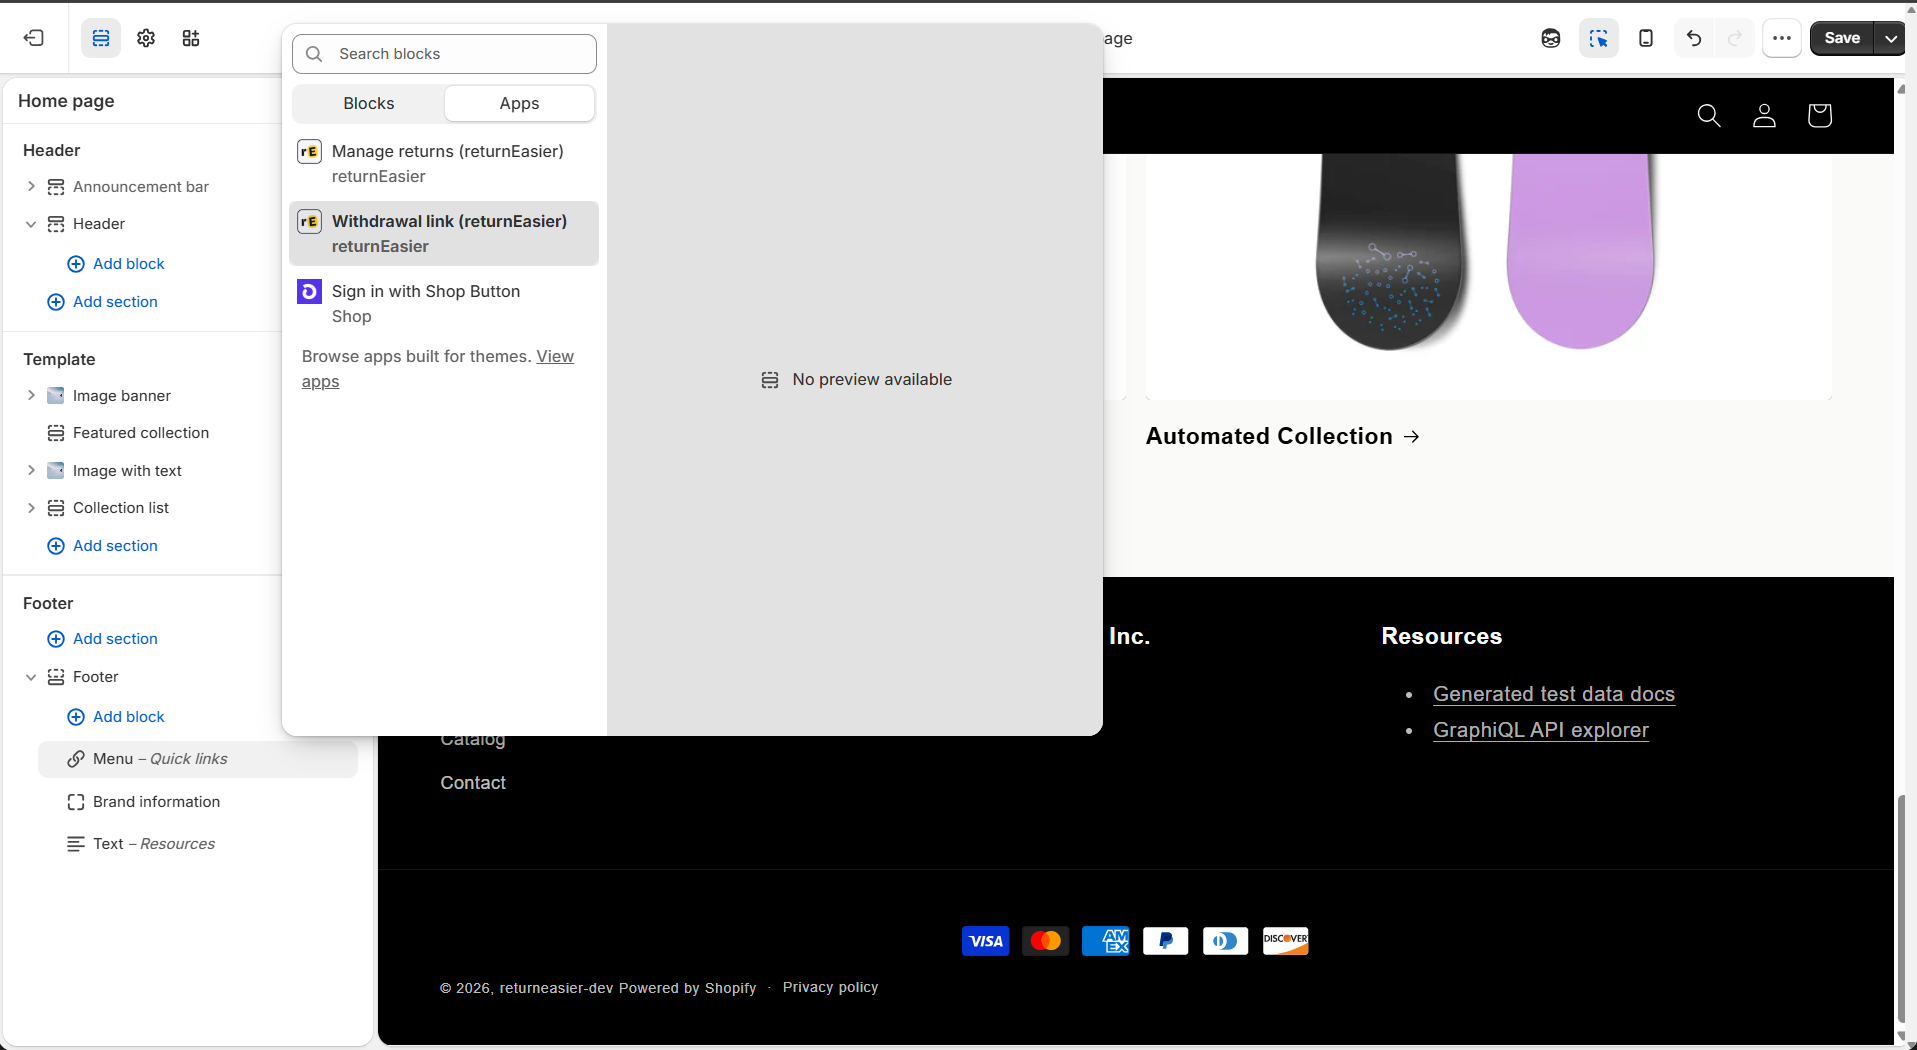
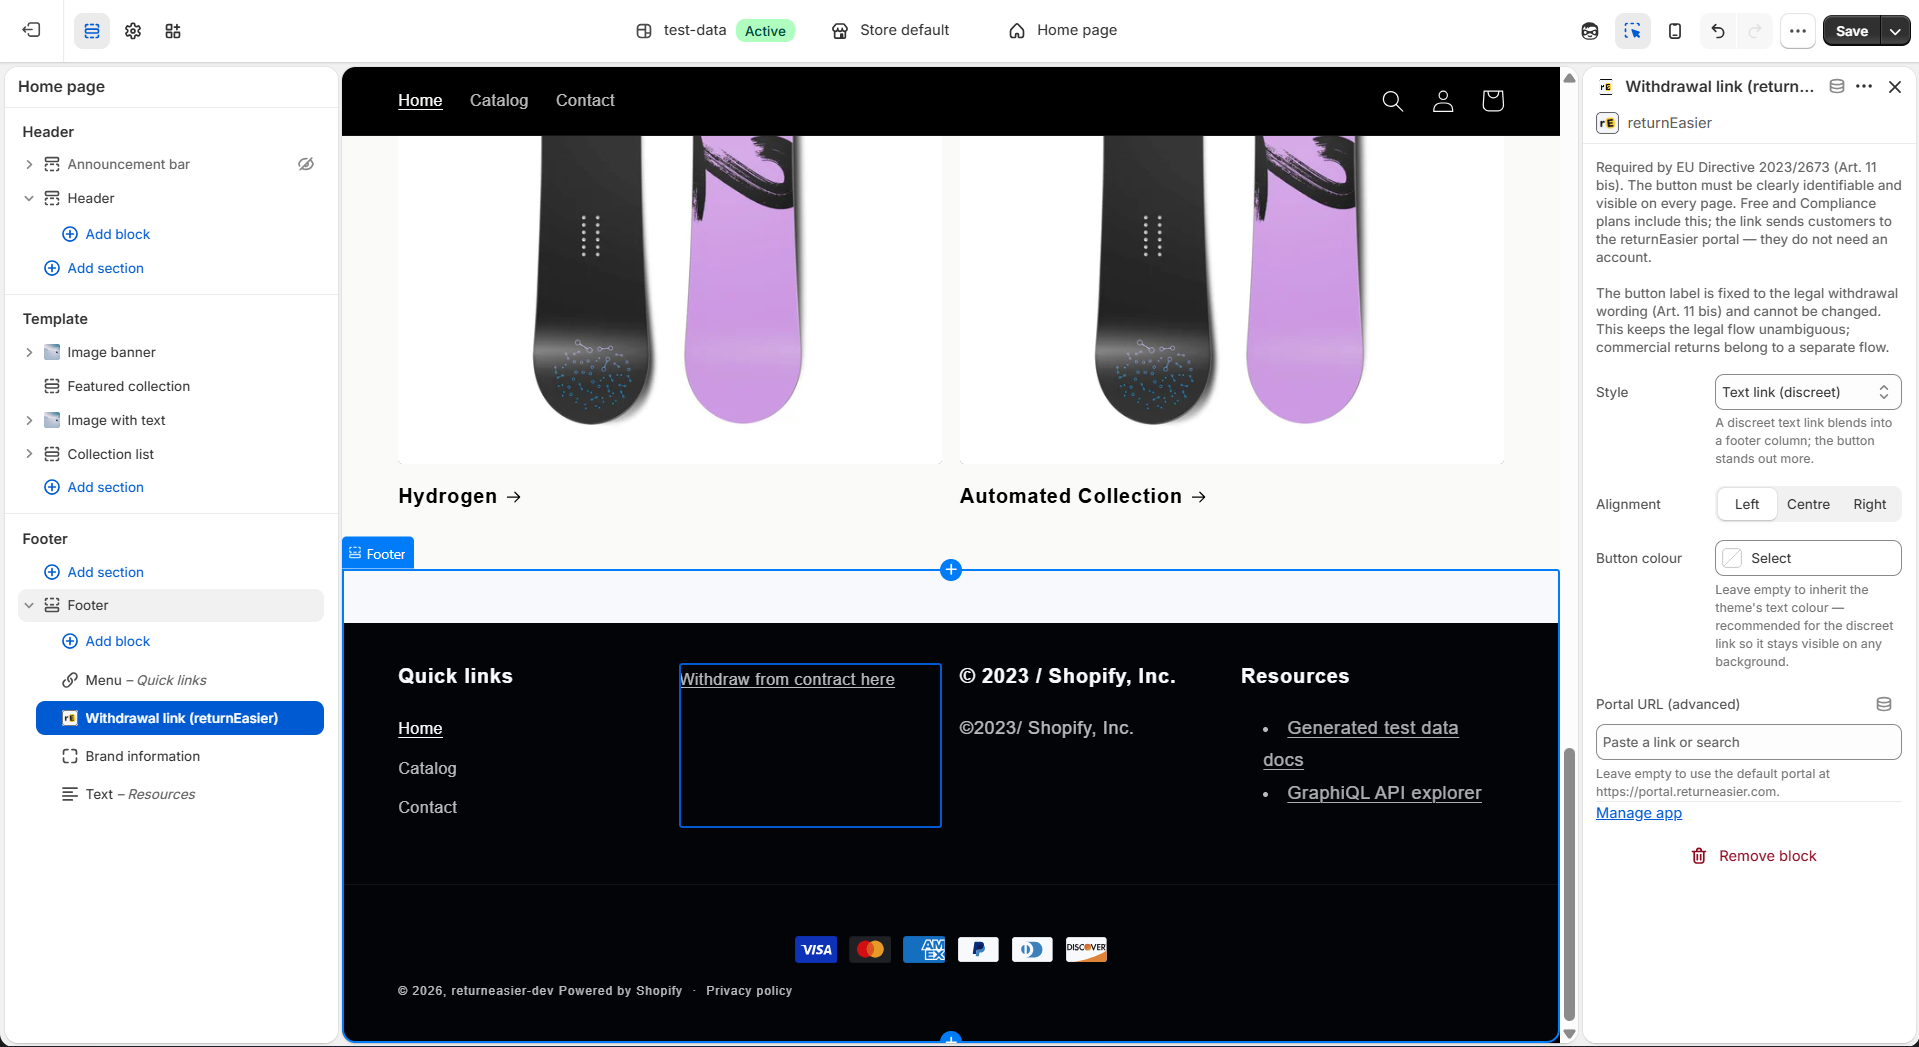
Its settings are:
- Style. Text link (discreet) —it blends into a footer column— or Filled button, which stands out more.
- Alignment. Left, Centre or Right.
- Button colour. With the text link, leave it empty so it inherits the theme's text colour (recommended: that way it stays visible on any background). With the button style, if you leave it empty the colour you chose in the returnEasier setup wizard is used; set it here to override it.
- Portal URL (advanced). Same as in the App Embed: leave it empty to use the default portal.
Why can't the label be changed?
The legal button label is fixed to «Withdraw from contract here» (and its literal equivalent in each language) because Article 11a of Directive 2011/83/EU requires it. Ambiguous wording like «Start a return» mixes a commercial return with the right of withdrawal and is not admissible as a legal button. That's why returnEasier doesn't let you edit that text: it protects you from a breach. What you do control is the look —colour, position, alignment and style—.
Check that it looks right
Open your store in a new tab and scroll to the footer. You should see the button or the link. If your theme has a very busy footer, the «Withdrawal link» in discreet style usually blends in better than the App Embed bar. And nothing stops you using both at once: the bar to guarantee visibility on every page and the link for the footer.
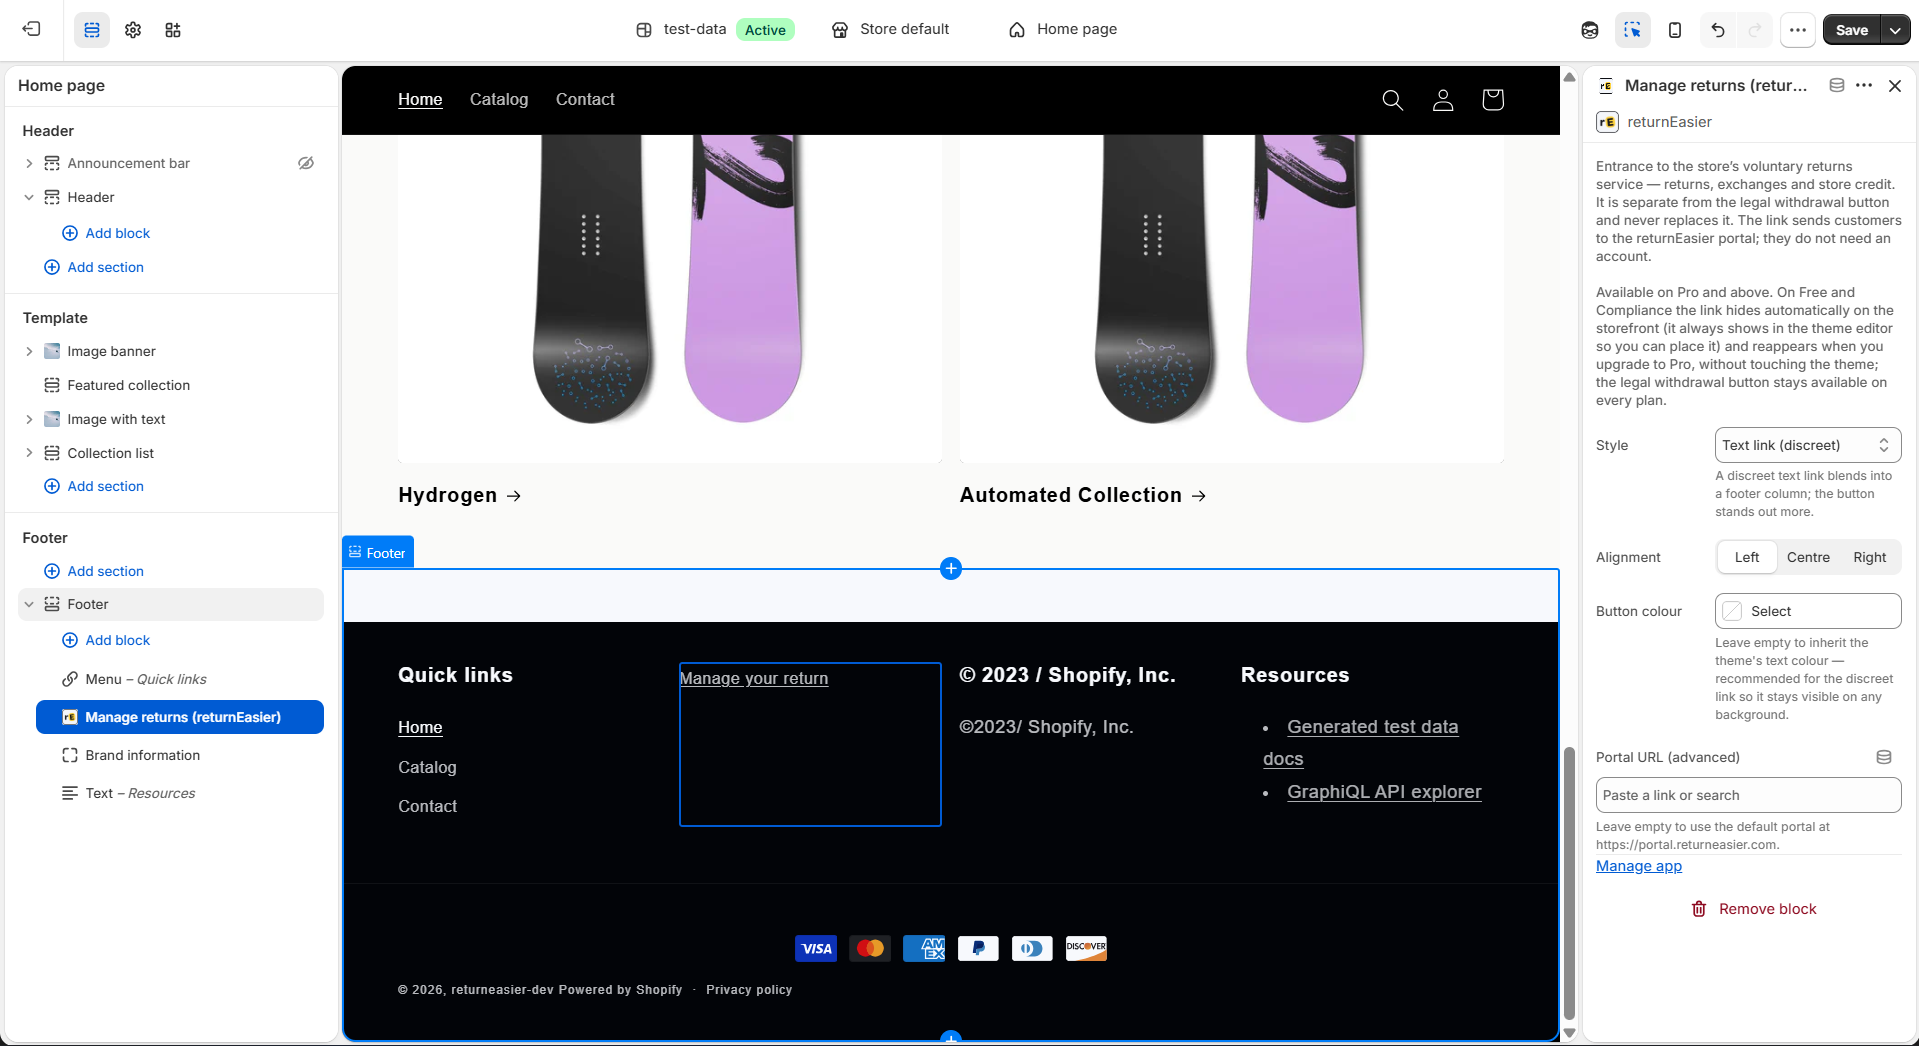
What about the «Manage returns» block?
In the same Apps group you'll see a third block, «Manage returns (returnEasier)». That is not the legal button: it's the entrance to the commercial service of returns, exchanges and store credit, available on the Pro and above plans. It's independent of the withdrawal button and never replaces it. If you're on Free or Compliance, leave it off; the legal button complies on its own.